 Click here to see us on Facebook
  Follow Me on Pinterest
Making a design wall
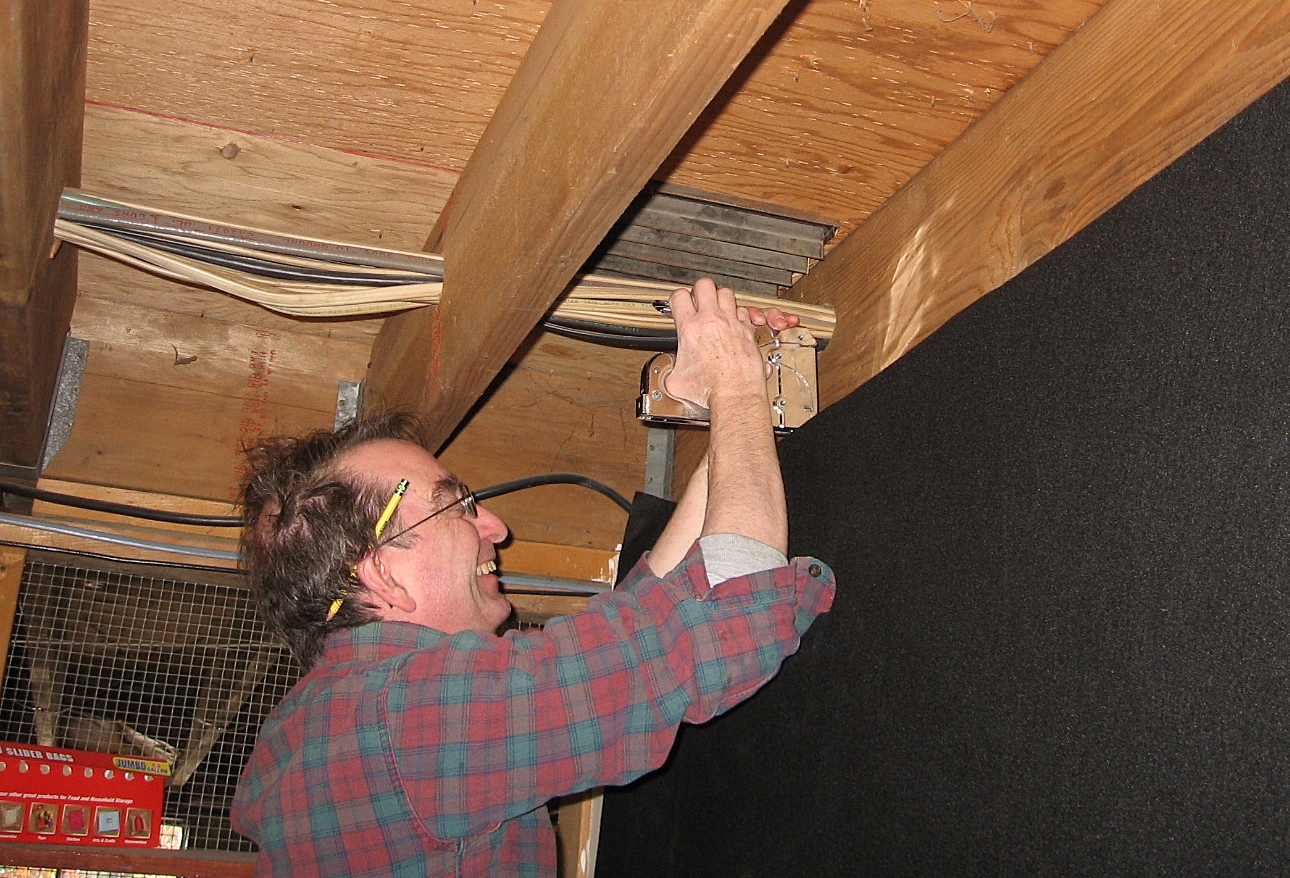
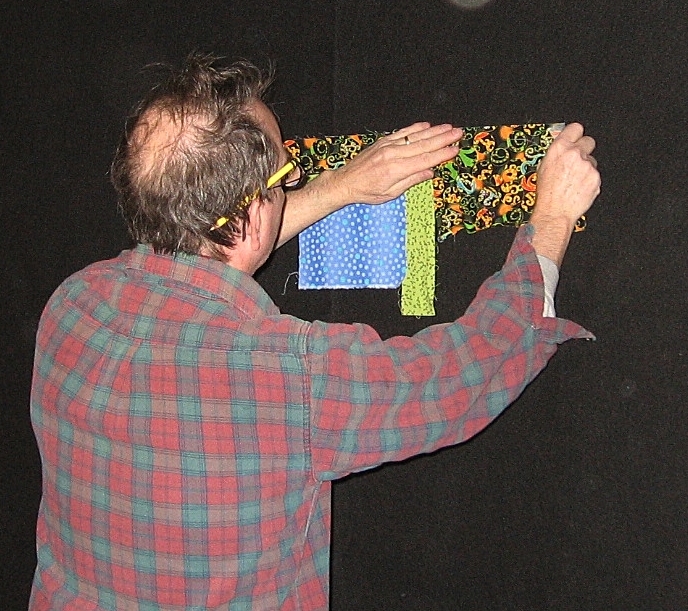
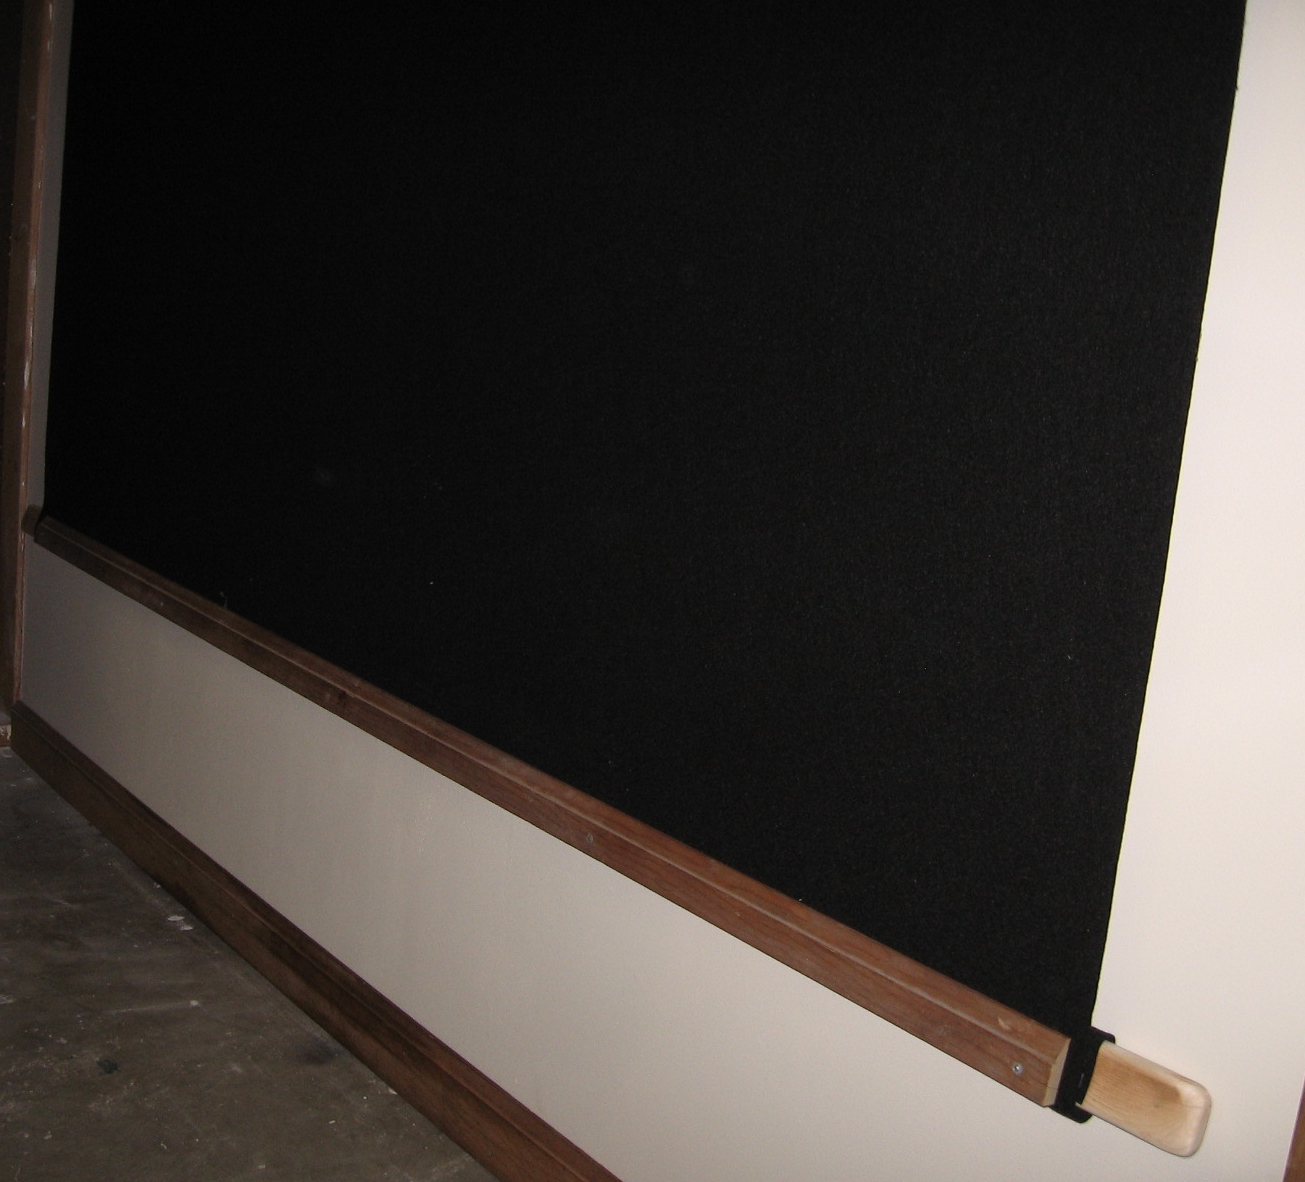
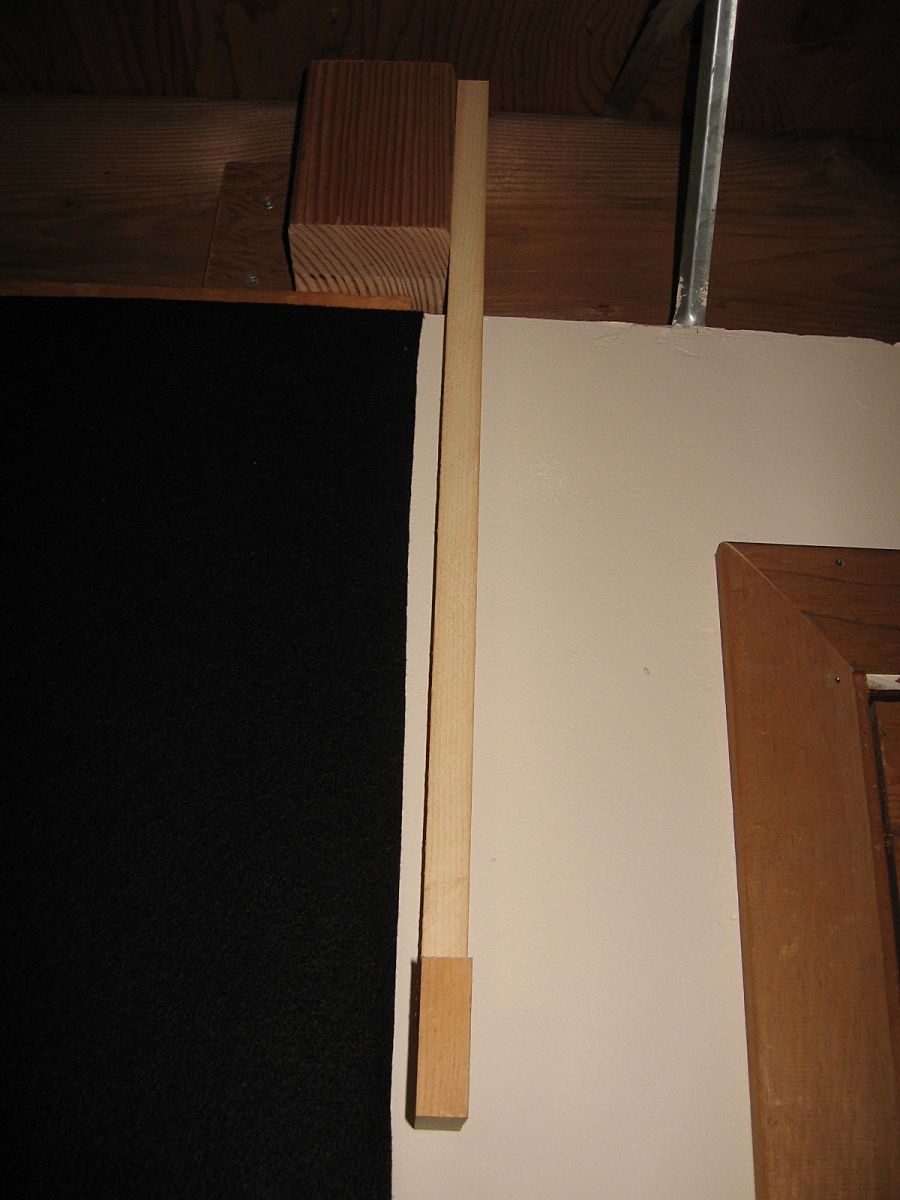
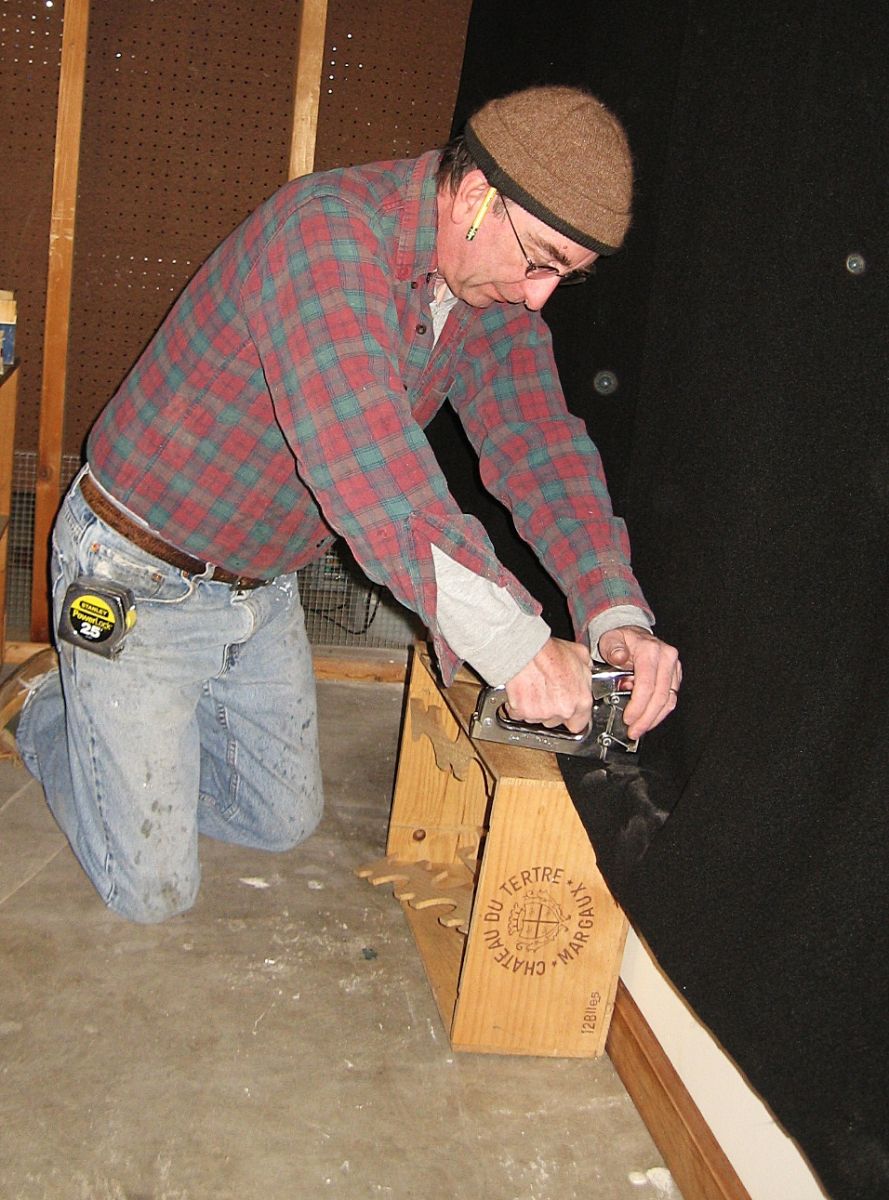 There are those who are lucky enough to have a studio to work in.....I am not one of those. Major cutting jobs are done on a lacquered 4' X 8' piece of plywood that sits on two sawhorses in the basement and the guest room is now the sewing room. Several years ago my husband Tim built a wall in the basement to separate the storage area from my work area. Like most homes, a 6' stretch of blank wall space is hard to come by. I often gazed upon this wall and thought, what a great spot for a design wall. I never mentioned this since the wall was taped but not painted. Recently, Tim took all the left over paint we had, mixed it together and painted the wall.....YES! The time had now arrived to put up a design wall! I not only have a husband that is clever but he also has a great sense of humor. As he was squaring up the 6' X 8' piece of felt for said wall, I explained that his did not have to be perfectly square nor hang perfectly square. He then told me his motto.."measure it with a micrometer, mark it with chalk and cut it with an axe." For me, any project where the main tool needed is a staple gun is my kind of project! Since there is no ceiling (just rafters) in the basement...the first thing was to tuck the felt over the wall board and staple it in place (#1) Now it is time to see if it will work, before any other time is spent on finishing it off (see picture #2) oh yea of little faith. It was at this point that we realize there was a rough side to felt and we had actually managed to get it on the outside! AMAZING. Next a long narrow piece of wood was screwed along the top of the felt. So that the felt would hang properly, a 1" x 2" X 7' piece of wood, long enough to have a 6" overhang on each side, was stapled to the bottom, wrapped around the wood strip and stapled to the back (#3). Another piece of wood was then attached to the front of the felt at the bottom (felt sandwiched in between the two pieces of wood) and screwed in place so that it would hang FLAT (#4). NOW, here comes the clever part..... there is a wood stove a few feet away which makes a lot of dust and dirt and did I mention that the felt is black? I suggested that it would be nice to be able to roll it up out of the way when not is use. Tim fashioned two wood hooks out of wood and attached them to the ceiling joists (#5). I can now roll up the design wall and park it in those wooden hooks and there isn't this big, huge black piece of felt getting filthy down in my basement, these is this nice rolled up design wall that is easily unrolled when it is needed to be used...the last photo is the happy camper rolling up her design wall.
.JPG)
- Sandy's blog
- Log in to post comments
Comments
design wallign
I love your design wall. I may have room for one too. Never gave it any thought. Hanging the fabrics on the black background will really define the colors and prints. Brilliant. Great use of your weekend! enjoy
design wallin'
Hi Margaret:
We actually spent a Sunday morning doing it. When I bought the felt the sales associate commented that I was the first person she had ever sold black felt to for a design wall, which surprised me since a lot of art, jewelry, ect. are photographed against a black background since it adds nothing, I think of it as a back drop so black made the most sense to me! I photograph everything I make so this will probably become the back drop for my photographs along with being the design wall. If you make a lot of larger items and have the space, this is the way to go! Thanks for your comment!