 Click here to see us on Facebook
  Follow Me on Pinterest
Check Book Cover
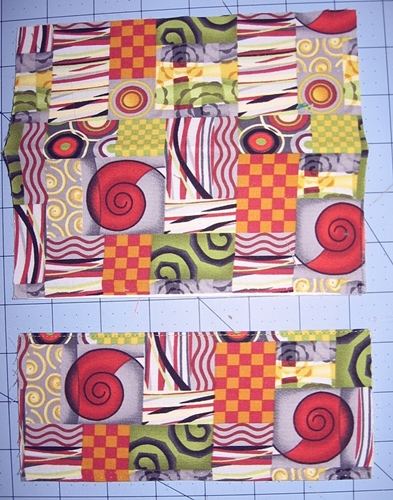
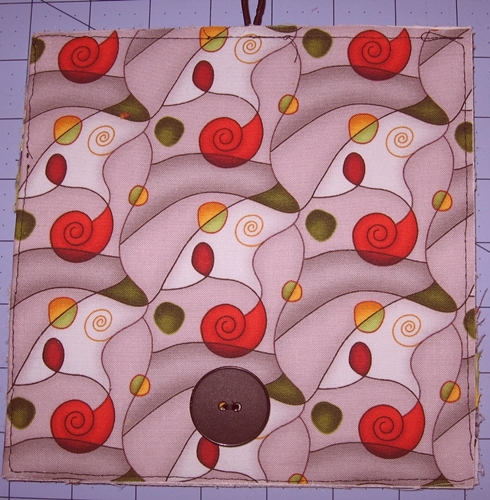
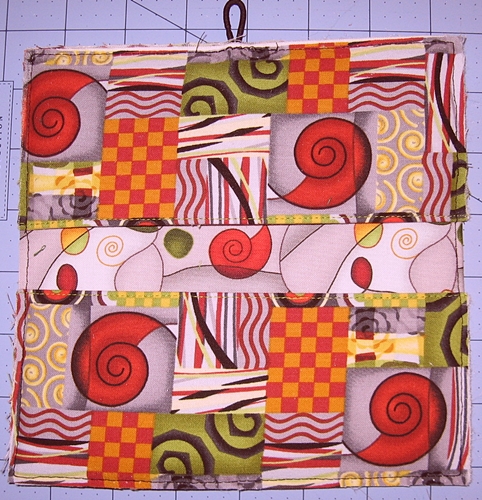
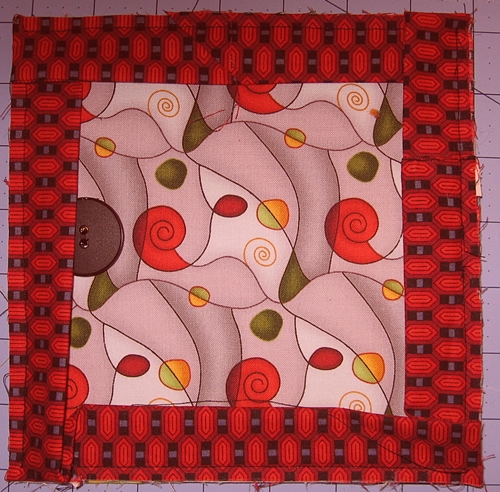
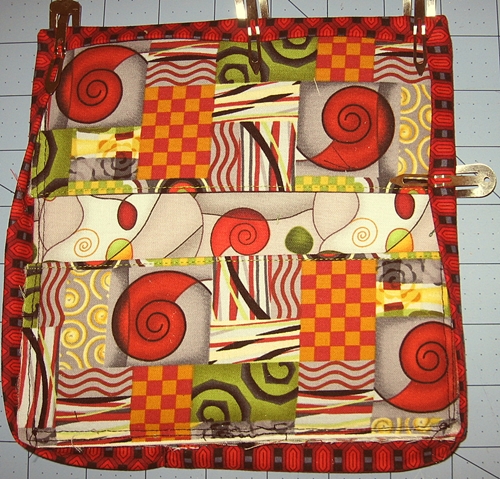
Today is check book cover day. This involves fusible web and interfacing. The main body of the check book is two 7" squares fused onto double-sided stiff fusible web. The pockets are 6" x 7" rectangle fused onto single sided interfacing. This is then folded in half and stitched along the the folded edge (see first photo). Next, the button is attached to the front of the main body and the loop (which is a ponytail holder) is attached to the opposite side on the front (see next photo) Now it is time to turn the main body over and baste the 2 pockets to the inside (see next photo). The check book cover is finished with a contrasting binding. I make the binding 30" long and 2 1/4" wide. http://quiltville.com/binding.shtml gives instructions on how to make binding strips and how to attach it and how to make mitered corners. Once I have sewn the binding onto the front all the way around (see bottom photo on left) and have gotten almost back to the starting point, I slip the binding strip's raw edge into the folded end and finish sewing to the starting point. Next the binding it turned over the edge and hand stitched into place along the inside taking care to cover up all basting stitches that have keep the pockets in place. The final photo shows the binding turned over and clipped in place with binding clips, ready to hand sew (see right photo on bottom) As I am working around and come to a corner, I make a fold in the binding and secure the fold with a couple of stitches. It is critical to follow the manufacturer's instructions when fusing the fabric in order to get a secure bond. The instructions are sold along with the interfacing.
- Sandy's blog
- Log in to post comments